Our site uses cookies to customize your experience and help us analyze each crumb of web data.
LEARN MORE


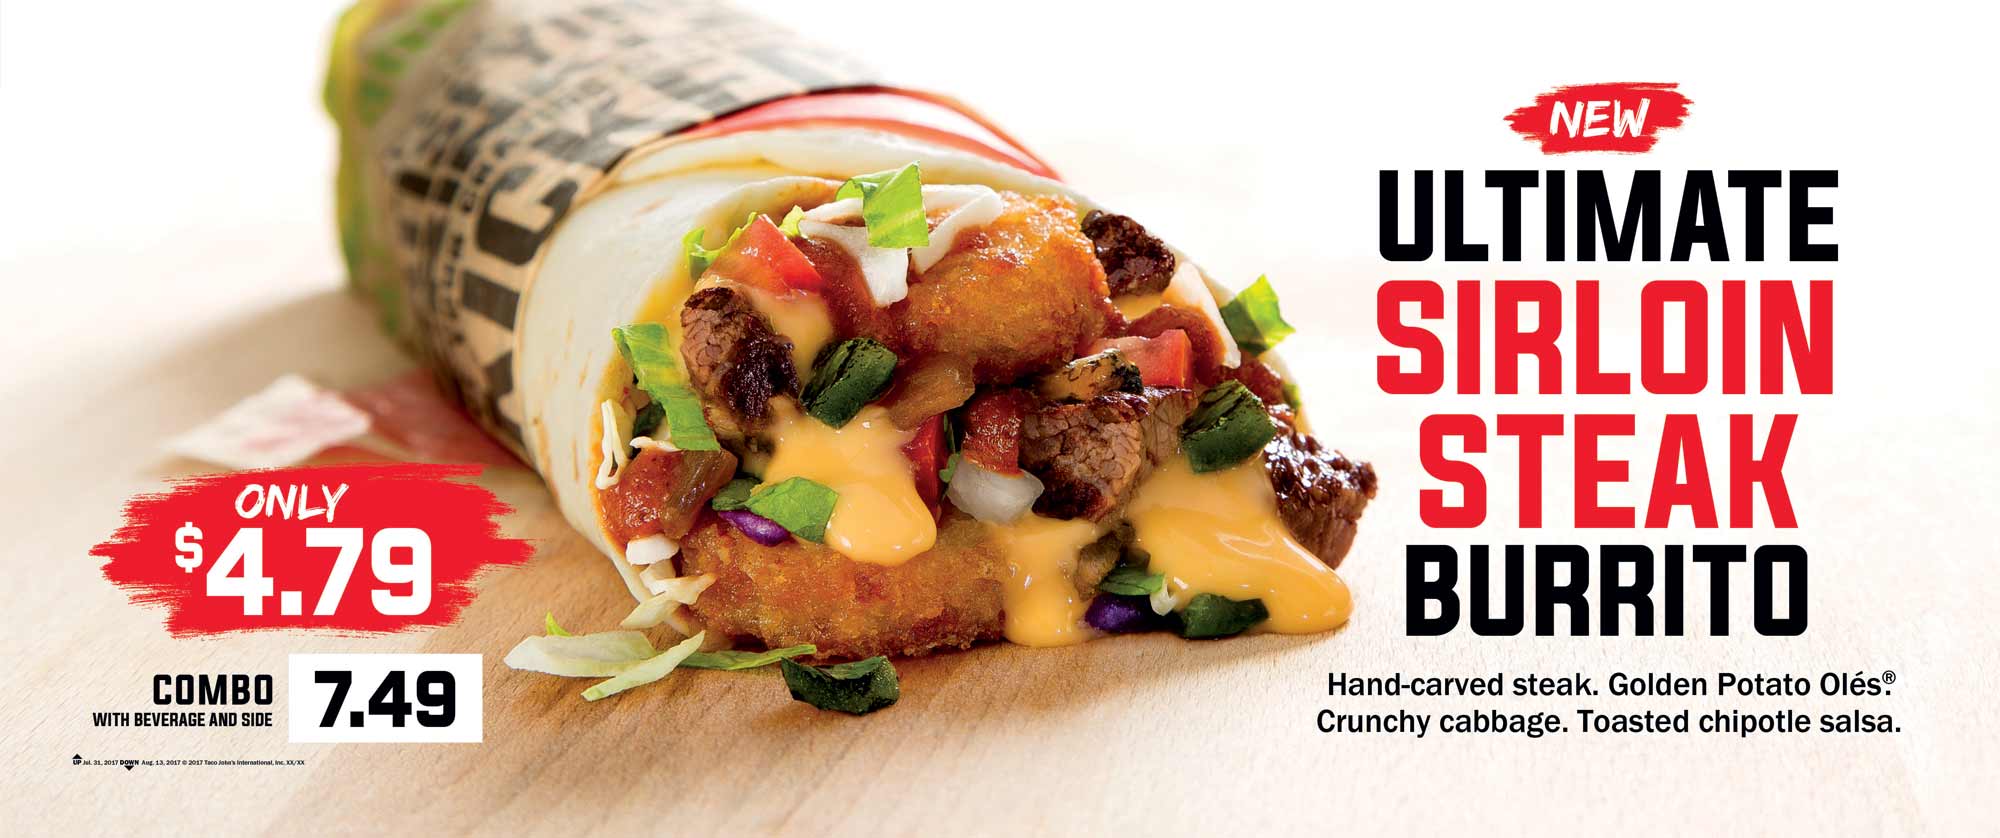
Food Photography Behind the Scenes
By Wade Thurman
- Restaurant
- 01.11.18
- 5 Min Read
Whether you’ve uttered the words yourself or seen them on social media, one phrase hangs around food photography like a dark cloud: “This doesn’t look like what’s in the ad.”
Well, we’ll let you in on an industry secret: there’s no behind-the-scenes trickery. At least when it comes to the ingredients. At L&S, we make sure everything consumers see in Taco John’s materials is made from the exact same stuff you get at the restaurant – we just give it a little more time in the makeup department.
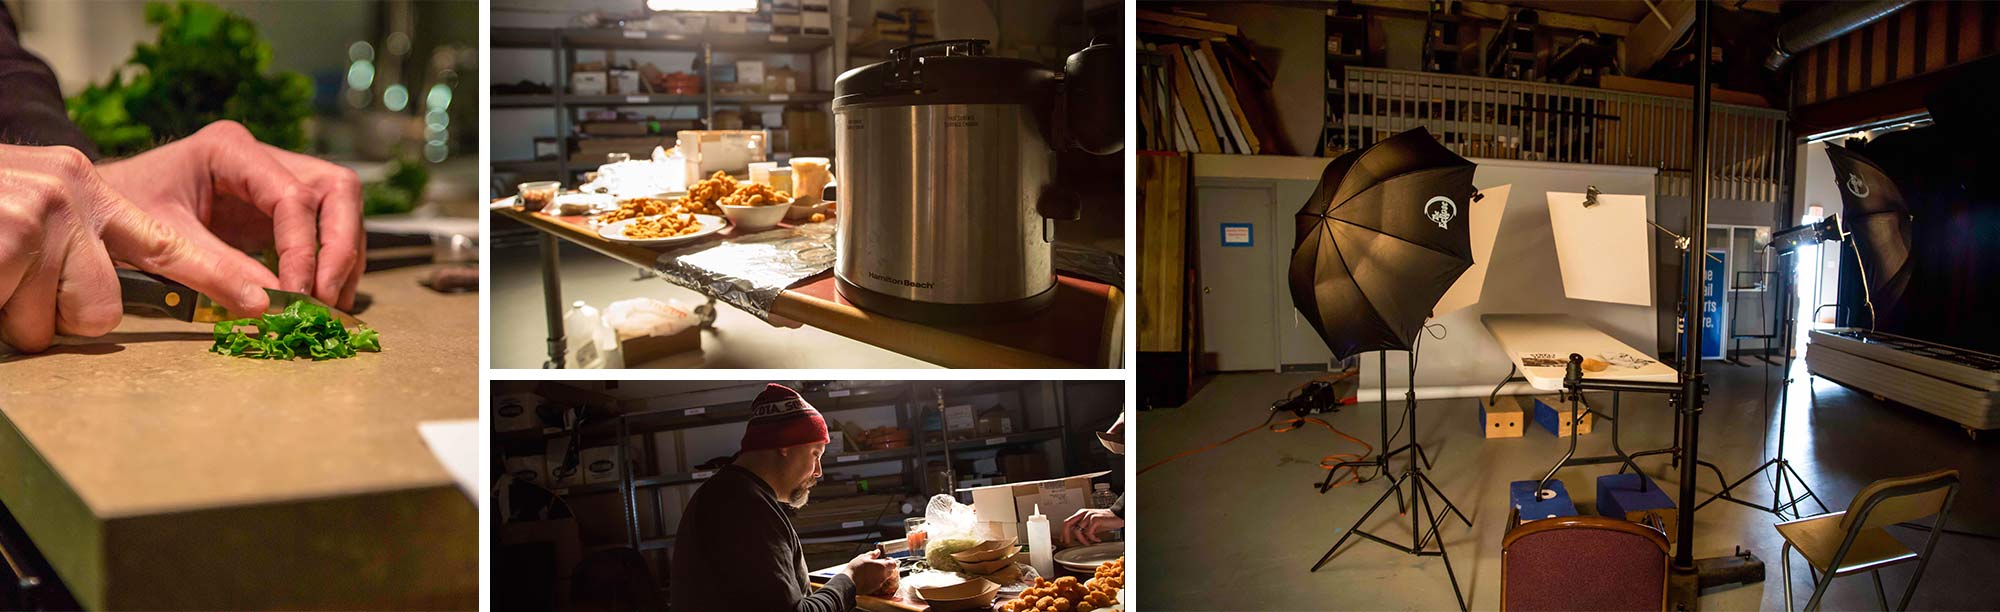
After working in the food industry for decades, we’ve mastered the essentials and even come up with a few tricks of our own. Here’s a rundown of what it takes to make TJ food that looks as awesome as it tastes.
DAY BEFORE SHOOT
- Read through the food ingredients and menu item build.
- Pick up ingredients from Taco John’s and vegetables from the grocery store. Only the freshest onions, the reddest tomatoes and most crisp lettuce will do.
- Set up lighting and prep work surfaces.
- Crank out a few more pieces of POP, then head home and rest up for a big day.
SHOOT DAY
8:00 AM
- First things first: coffee. But not too much – steady hands are a must.
- Read through the food ingredients and build again.
- Gather all ingredients, prep bowls, cutting boards, knives, tweezers and paper towels: the unsung hero of our food prep efforts. Paper towels soak up oil, keep our lettuce crisp, keep our tortillas soft, and keep our hands, tables, and tweezers clean. Truly an MVP.
8:30 AM
- Begin food prep: dice the tomatoes, chop the onions, tear the cilantro, cut the lettuce and slice the cabbage to photo-ready perfection. This is not the time or place for a slap-n-chop – each piece of food is carefully cut to spec: ¼” onions, 3/8” tomatoes. We may only use five pieces of tomato, but we chop one or two whole tomatoes so that we can pick out only the best pieces. Important: lettuce is delicate and needs to be chilled as much as possible, otherwise it “wilts.” Save the lettuce for last, because once that gets cut, getting the shot is a race against the clock.
- Tip – muffin tins are a key tool of the trade. They work very well to keep a variety of ingredients separate, but within reach.
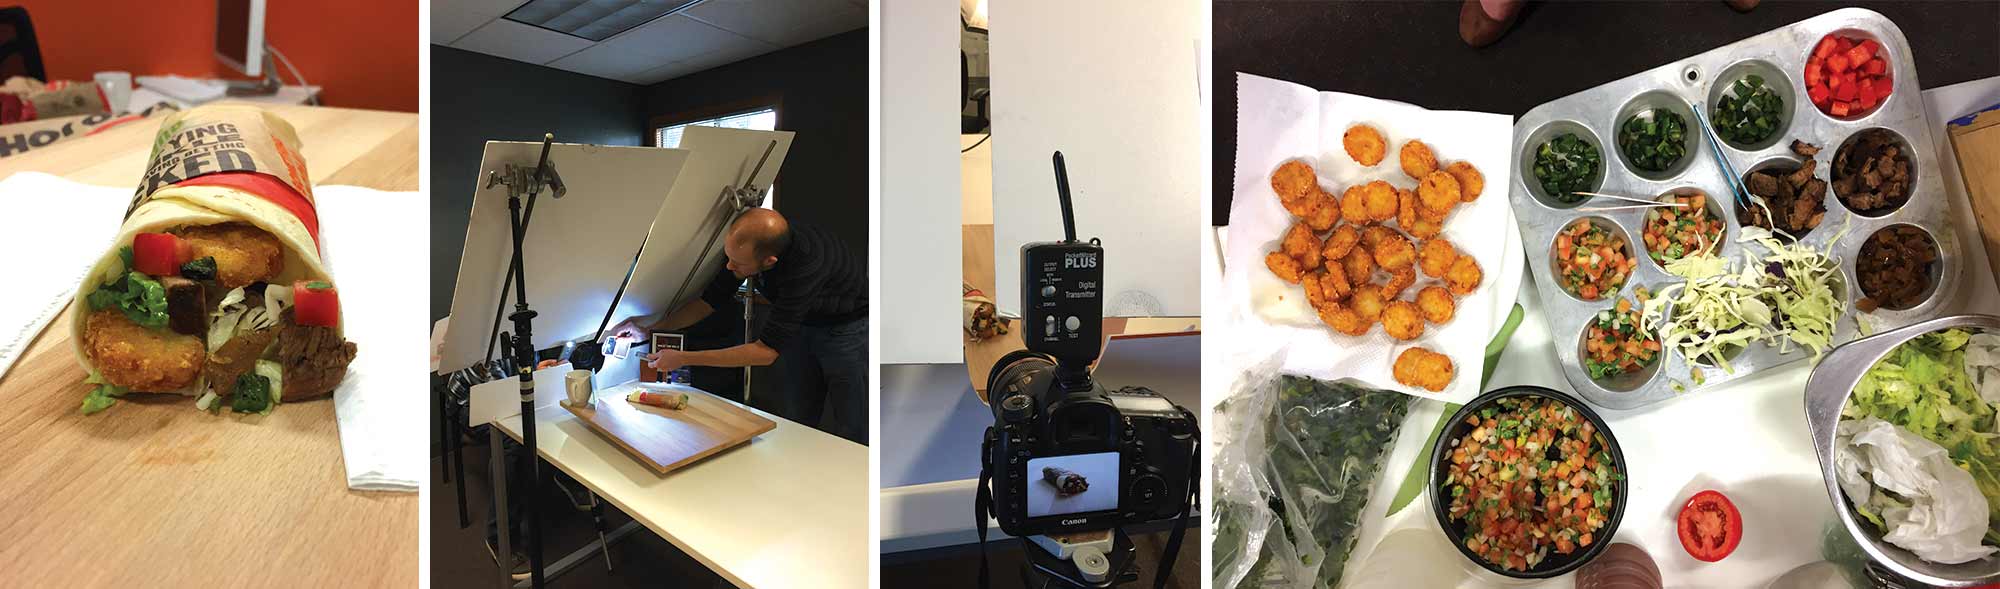
- Make instant mashed potatoes, a strange but effective way to fill and shape the back of the burrito. They need to be thick to prevent the tortilla from becoming soggy.
9:30 AM
- Create a dummy burrito with an extra tortilla and mashed potato to perfect the fold of the wrapper and test lights, angle and camera settings on set.
- Read through the food ingredients and menu item build. You cannot do this too many times. This cannot be emphasized enough.
10:00 AM
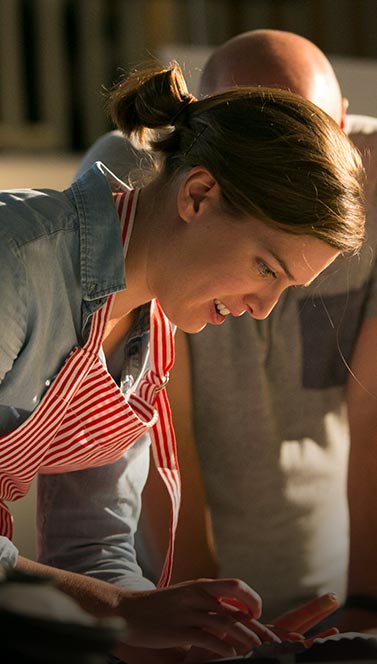
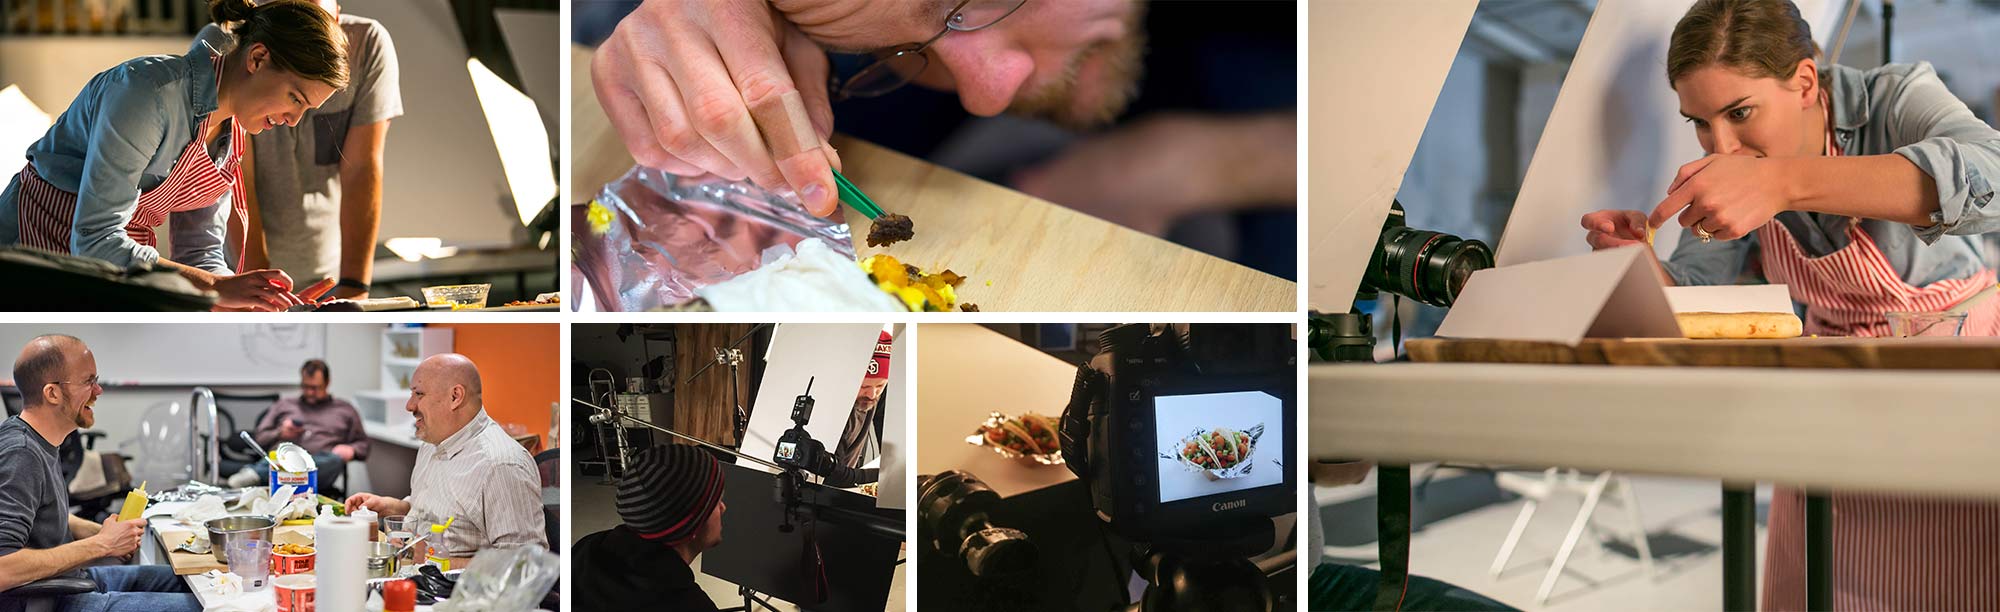
- Style the burrito – deliberately. Too fast and things get sloppy, too slow and the food will get soggy and “die.” Start with the big pieces: Potato Olés® and meat, then fill in with pico de gallo, roasted poblano peppers and caramelized onions. A lot can be said about having steady hands and a quality pair of tweezers for this task. Don’t forget to make sure some of that cilantro is showing on the tomatoes and onions – realizing you forgot to showcase something while looking at final photos will make your heart sink into your stomach. Trust me.
- Tip – make sure to style the item on the surface you’ll be using in photos, or it may fall apart in transit.
11:00 AM
- Move the burrito to the set. Grab a few shots and check lighting, then angle and add, remove or rearrange ingredients as needed.
11:15 AM
- Add the sauce! No, that’s not a metaphor. The consistency of the sauce will determine the tool of choice. Eyedroppers, syringes, paintbrushes and squeeze bottles have all been known to do a bang-up job.
- Add the sparkle! Glycerin on the tomatoes, a quick brush of oil on the meat.
- Read through the food ingredients and menu item build. Make sure nothing is missing and all sauces have been added.
11:30 AM
- We are ready to shoot! We play with the angles, bounce extra light onto the food with mirrors, flashlights, whiteboards…whatever we can find.
- Remember – move fast! The food loses its luster pretty quickly and may even need to be freshened up throughout the shoot. Extra glycerin on the tomatoes, lettuce replacements and extra sauce should be handy.
12:30 PM
- Kick back, relax and reap your rewards. Excess ingredients allow us to try the menu item ourselves so we’re familiar with what we’re promoting. Sometimes, this takes multiple trials.
1:00 PM
- Clean up. Paper towels for the win.
There you have it – a crash course in foodtography. See our work in action.